Showing posts with label diy. Show all posts

Wednesday, December 12, 2012

Simple Gesture to Make a Christmas Present Special


This holiday season I wanted to make something special for my customers on Les Bijoux de Siany.  While staying on a low budget, I know rightaway that, following my nature, it should be something crafty and DIY. Thus, was born a rustic red christmas tree on top of (my) handwriting.

You've probably guessed how to do this, but I'll just share anyway. Ready? Go.  You need an old eraser that you don't wish to use anymore, a cutter, a red inkpad, and a green pen.

On the old eraser draw a simple design you like, it can be a chrismas tree (like mine), snowflakes, mistletoes, santa's hat, socks, or candy cane.  I don't recommend cat, dog, or parkeets though, I know you might love your dog or cat very much, but then the receiver of your christmas present might not know that it's actually a christmas gift. If you insist on having an animal, reindeers might work better.


Then cut off the sides and dip it in the inkpad. Mine is red but you can definitely do whichever color you'd like. Green is perhaps also nice, since most of the christmas trees are green :) 


Here's the detail photo maybe it'd help you to see how it is cut. 


I use a cutter, but if you have a carver at home it might work better, your design might be more detail and prettier than just a simple triangle tree. 


So what do I do with it? 

I stamp it on any paper, cut them, and wrote "Joyeux Noel" to make sure the message delivered. 


Then I hole-punch the corner and attached it on the package. 


Like this! 


Like it? Do you do something special on packing your holiday gift? I'd like to know. 

Wednesday, October 10, 2012

Reflector from Foamcore

After reading this from apartment therapy  I try to construct the reflector using two pieces of thin foams that had been laying around for awhile. 

My foam has two sides: one has a pattern on it while the other is flatter.  Picked them in a package of five , this boards are actually made to decorate a ceiling or something like that.  I'd prefer to use the foamcore if you have, first they are heavier and sturdier, second there should be less texture on the board.  Well, for the moment this sort of foam works for me.  So I traced a line exactly in the middle and cut them in half using cutter. 


Lay them on the floor with a two to three milimeters distance so it is somewhat flexible to fold later on.  And finally plaster them with a white ductape. I used a masking tape, but in the end I have to reinforced them with a thicker tape so it doesn't easily fell apart. 


Et voilĂ , your reflector.. 


Here are some of the photos taken using the reflector, 


You might have seen some of these photos here.  What I have noticed is that since the foam has a weird bubble texture, in order to take a clear white background, I had to back up a little bit, or put the object further from the background to get just an untextured plain white backdrop. 


Have fun! 

Tuesday, February 07, 2012

Succulent Terrarium


It is normal to always want something right? I have been 'craving' to have terrarium, not sure if the urge of making one or just owning one. In short, I WANT it.  Going back and forth at google search to find a good DIY and consulting the gardening page on which plants, pots, soil to use.  I thought to myself, maybe if I just read it off, the urge of having one will go away. It's not like it's an addiction or something, I deserve to have a one beautiful mini terrarium at home. But the problem is we live in a small apartment and we already have plenty of plants! They are happy to live with us indeed, but we, too, need some space to live.. Dillema oh dillema...

Well, before I decide, here are the stuff I was talking about..

From Garden of Leah. What a gorgeous pot and I love how healthy and playful her succulent goes. 

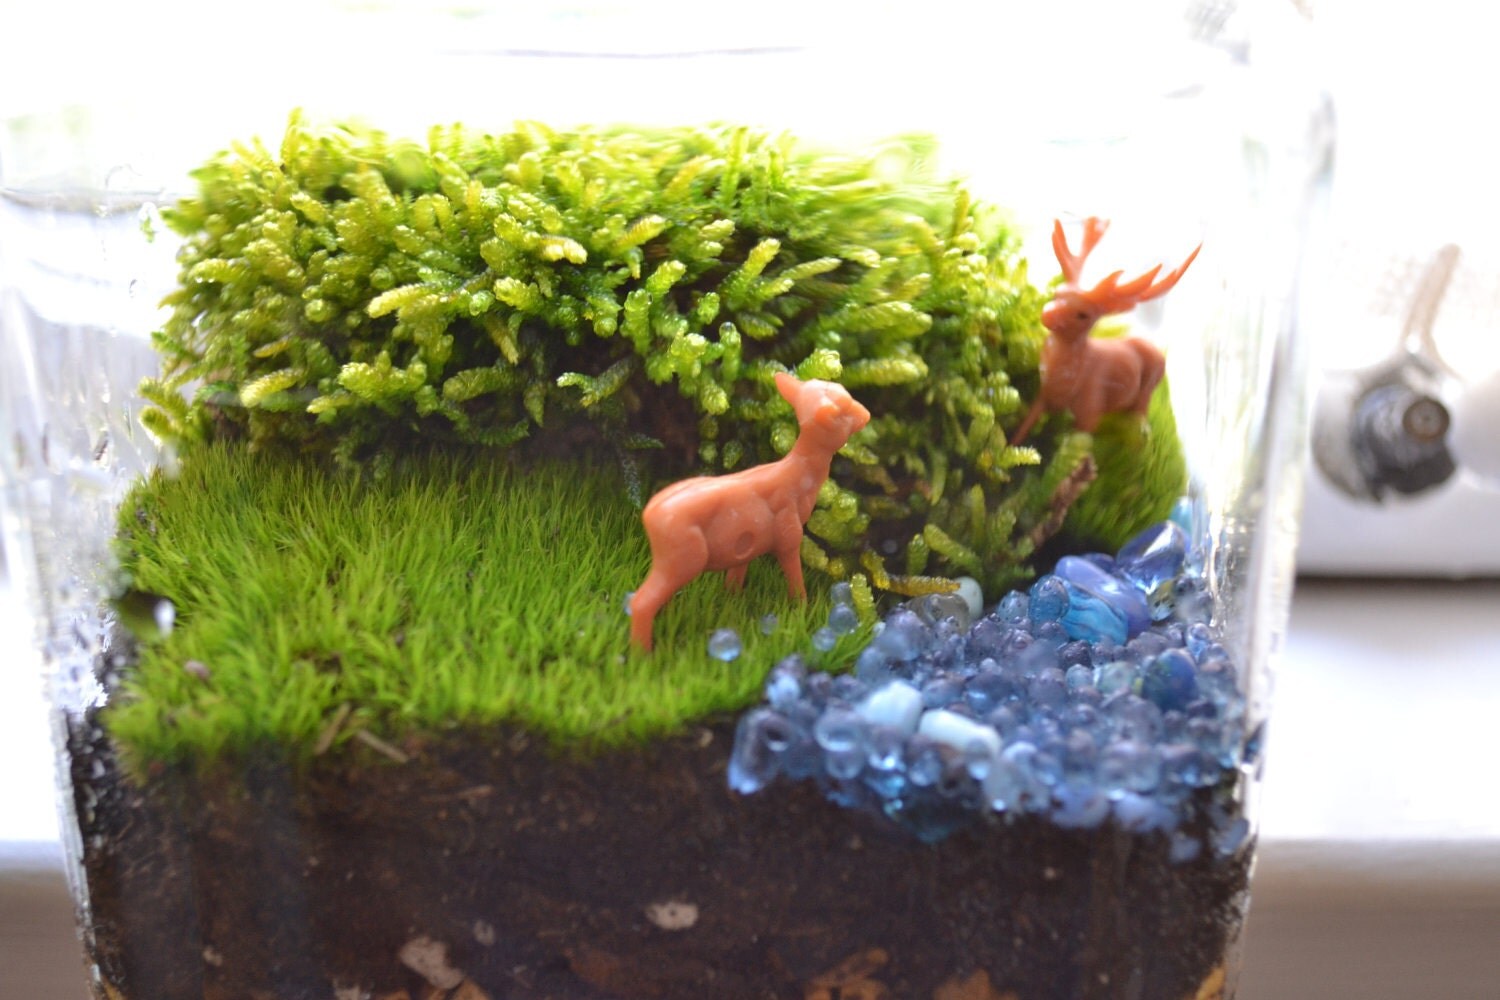
http://www.thepeachtreebrooklyn.com/2008/07/mad-about-moss-pant-not-kate.html
Apparently this is where you should find your life moss, save some $$ and it is more organic than the preserved one. I think.  Now that I think about it, I see plenty of these everywhere.. 

This is a terrarium within a lightbulb, Camille from Chapeau Bas shared the full DIY.

oh I don't mind a healthy tree with real wood in my terrarium, image from lacrafterie.fr. 

DIY from Our Fine House is my favorite so far, simple and it consist of two plants I like: moss and succulent.

 Sara Norris Photography took gorgeous photo, she was right, the touch of purple at the end of the leaves makes it look sexier. 

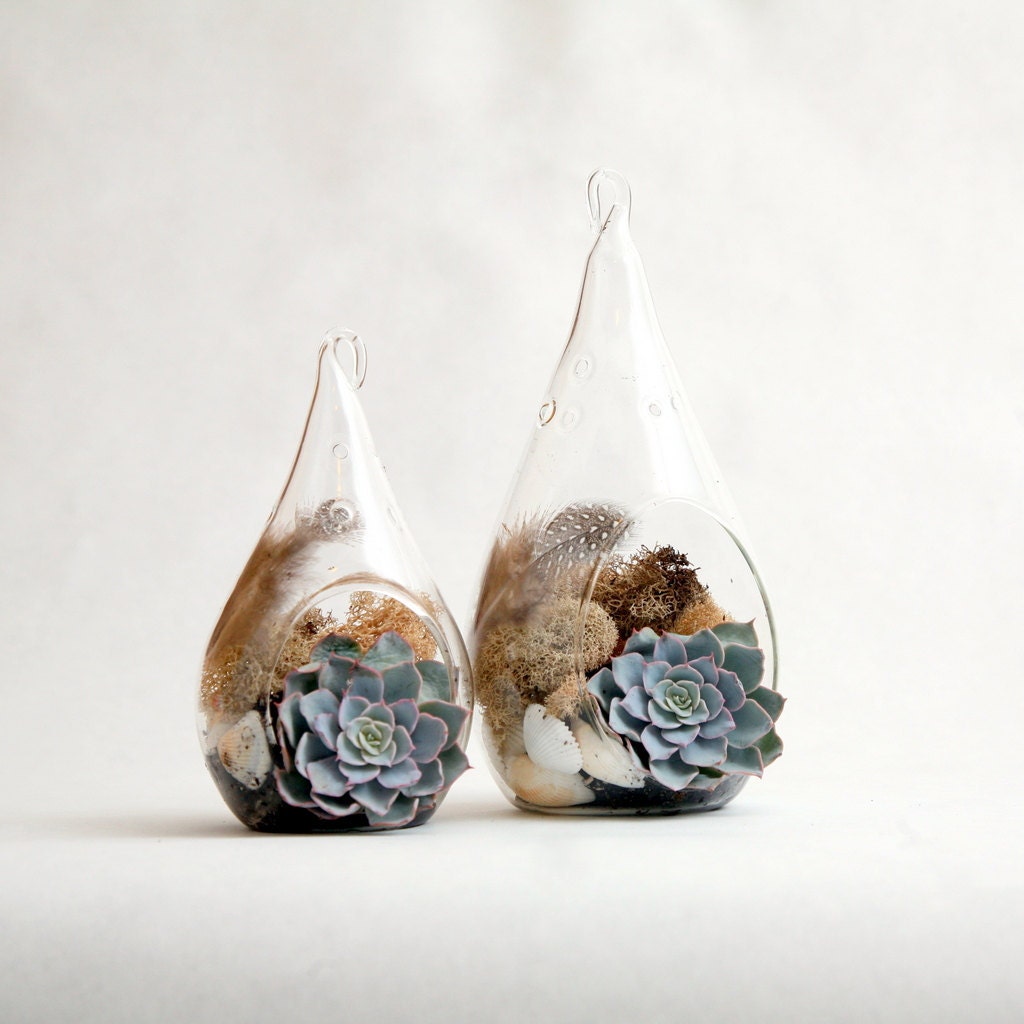
It is tempting to just click here and buy Amanda's terrarium from etsy. 


Monday, October 24, 2011

Table Stationery for the Wedding Guests

After the Handmade wedding bouquet, the second stuff of the wedding DIY I made for my own is the table stationery.  Plenty of ideas in my mind. Having some candies inside the guests tags, for examples. It didn't happened, and not sure if the reason lies between laziness or worry that some of my guests are actually on diet. Anyway, I decided to do it simple ways, just the name.


First thing first, the plan. So I want to have it folded into two and stand up just like a roof on a traditional house, with a bowtie on top and a golden strips, and a guestname in front of it. 


 I used two types of papers.  The thicker carton just so it can stand while it is folded into two, and the art paper to write the name of the guests.  Except for that, the tools I used are: a cutter to cut the papers, rulers, a scissors to cut the ribbon, a ribbon,  a perforator, a glue, a fountain pen, an eraser to erase the pencil marks,  a glitter, I used an eyeglitter that I found in my makeup case, and finally a strip of golden carton to accentuate the card. 
For that, I recycled the cover of an autumn-winter 2010 Mango catalog.  


This is how it looks like after:
1. cutting 11*9cm of thick carton and folding it horizontally into two.
2. glueing in the gold strips. 
3. perforating close to the frame and right in the middle of the card where the ribbon would be tied in.
4. applying the glitter on the front side of the card to give a shiny effect.
5. tying in a 20cm length of bronze ribbon.

Now the calligraphy exercise.  I try to write the name of the guests somewhere else before I am sure to have it on the art paper. 


Then I glued the 7.9*3.7cm art paper right in the middle of the front side of the folded carton, traced down the calligraphy with a pencil, doubled the trace with the fountain pen, waited for 10 minutes before erasing the pencil trace. This is how the card with the name on look like. Please ignore the golden strip error I made on this dummy. 


And Finally this is how it looks like on the dining table.  I decided at the last minute to change the bow. This one is thinner and 10cm longer than the original plan above. 

Monday, September 12, 2011

My first DIY art project: drawstring multi-usage sack

Yesterday I said goodbye to one of my favorite pants. I bought this pants more than ten years ago from Express in Tucson Mall during the summer sale of 2001. And five years after that date until today he is bestfriends with the closet. I can still get into this pants, I think, But everytime I wear it I feel weird.


So there you go, I cut the knees off and, since I don't have a sewing machine, handstitched it. 


Converting the belt into a drawstring

this is how it looks like inside out, 


This is how it looks like outside in, and done.

Here's a couple of ideas on what to use it for... 
 
Maybe I am a bit innovating things here, but this might be a cute bag to carry a wine bottle.  For example you are invited to a dinner with friends and you want to bring wine, or champagne, as a gift or to drink them together.  So instead of carrying it with a plastic or a brown bag I just think that it is more chic to carry it with this new handmade drawstring sack you just made.   Bon, maybe.  Or another idea might be a container for your toiletteries or make up gadgets while travelling. 


At the moment, this bag serves its function as my (clean) tights, pantyhose, stockings, socks organizer.
YAAY I did something with my hands, this project has refreshed my day, it is indeed a great temporary change from making that much jewelry.