Showing posts with label handmade. Show all posts

Friday, October 19, 2012

Snowflakes Beaded Ornament


Last year's Christmas I was obsessed with making a handmade christmas cards. This year, I think, it's the snowflakes fever.

Here goes what I did so far, which one do you like? Some of them available here, and more to come.


Enjoy your Weekend! 

Friday, March 09, 2012

Long Necklaces and a Cocktail Ring

It's friday! yaay.. I so wanted to take a photo of my cutesy terrarium (yeah from the time I created my five glorious moss terrarium I've made one more that is five times, ok maybe a bit exaggerating, two times then, bigger than those little ones. Unfortunately I was too busy making jewelry (not a bad excuse either ;) and this weekend, just sharing what I made..

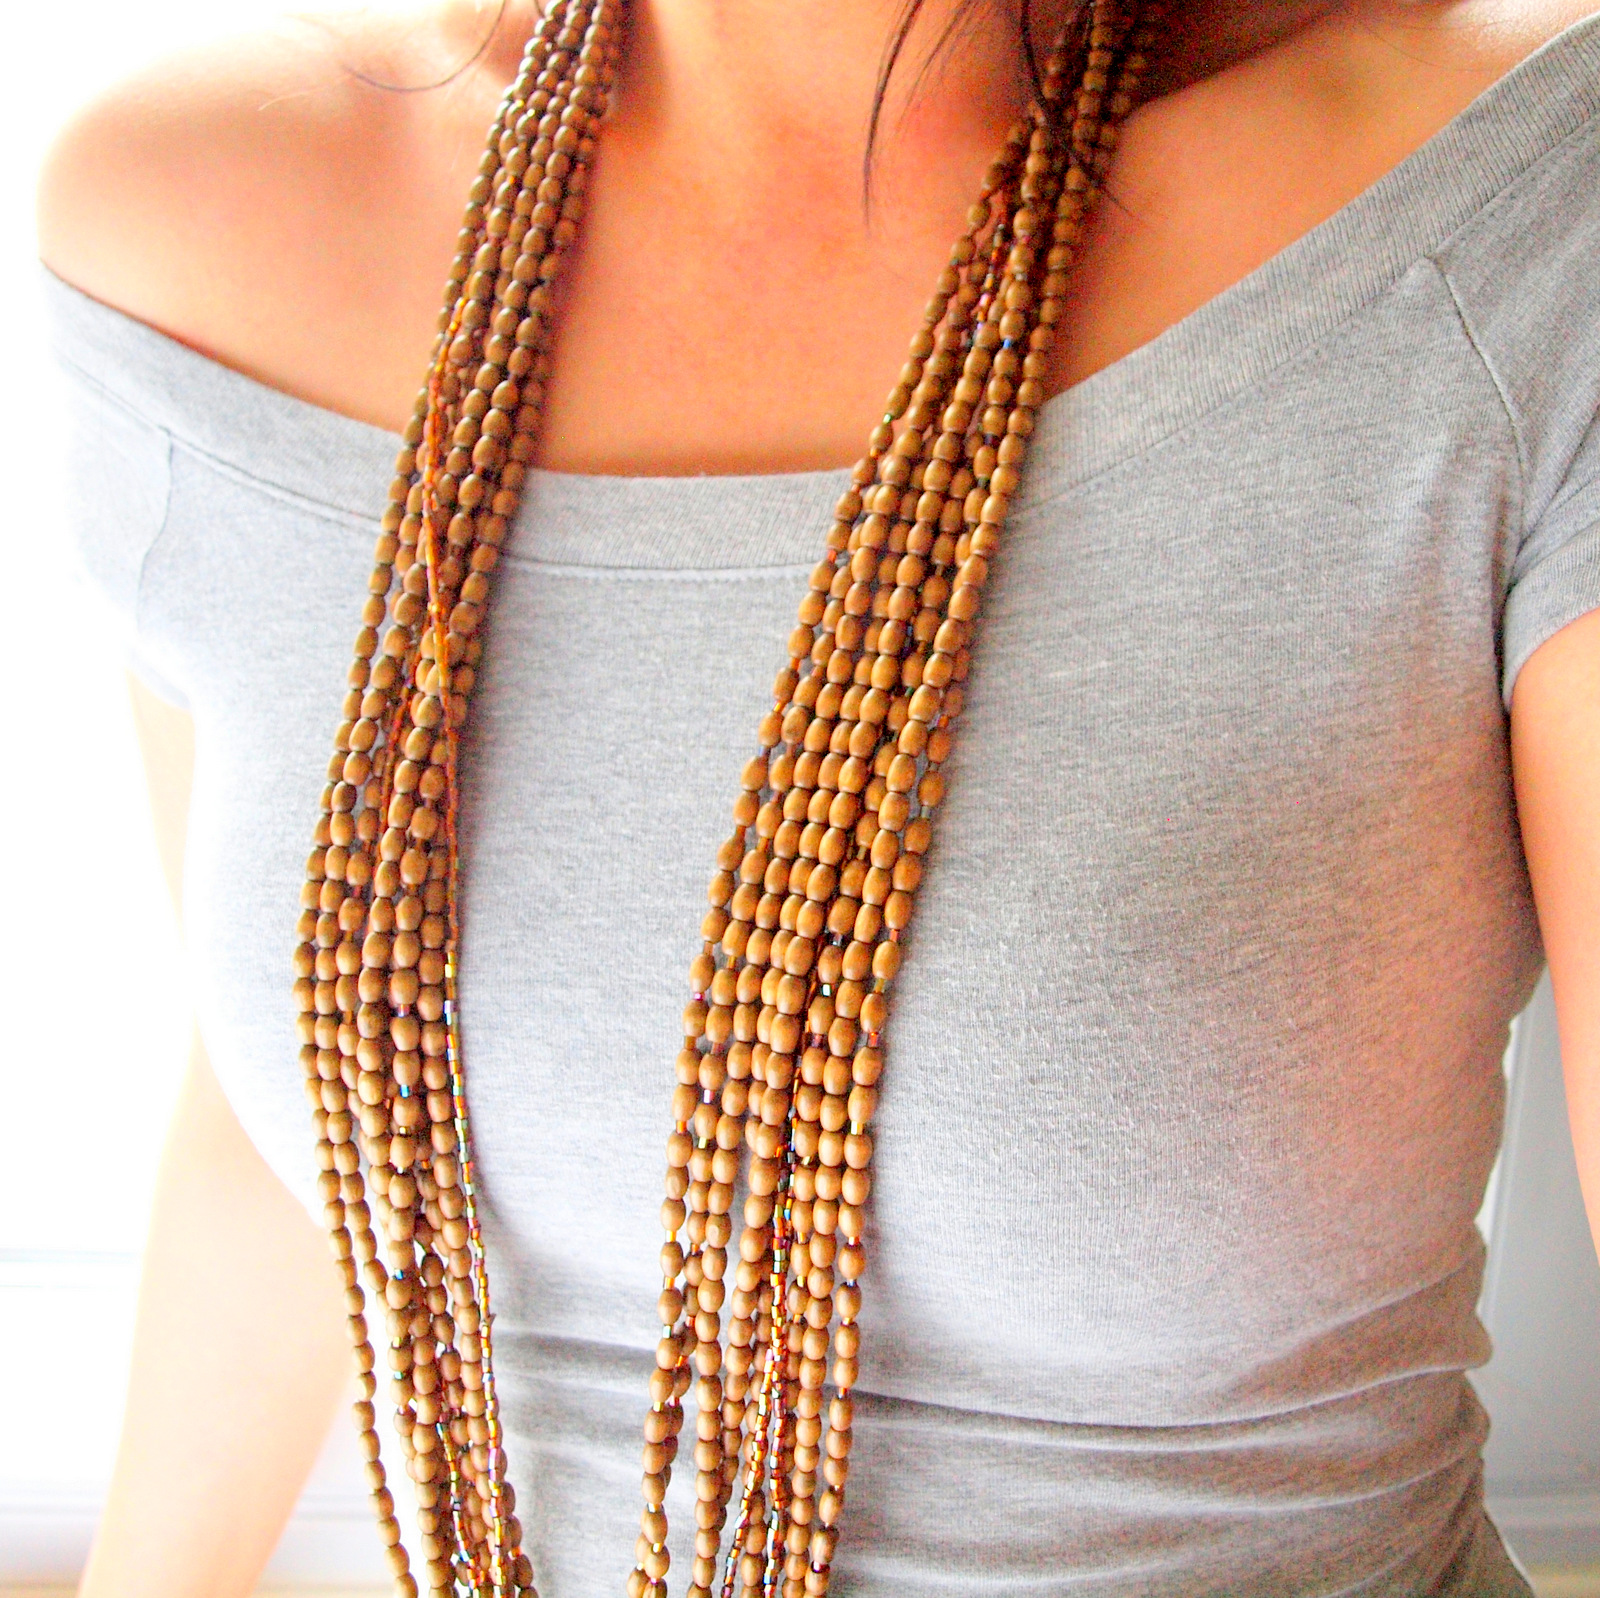
a classic multipendant long necklace that started with 5 colors version. I can't stop imagining about different colors for these babies.. 

cocktail ring project that stays hanging, I finally made another one. I am not sure how to sell these because I have not master the technique of fixing the ring size just yet. In the mean time just for your eye candy.

Taking advantage of a gorgeous sun this week (spring is here!) I retake some of the photos of my necklaces collection. Thought that having their picture taken with somebody wearing it gives more visibility to those who are interested to buy.. here goes. 


Love making those chunky layer sandalwood beads, am not a big fan of a complicated style this is why I keep it less bling bling. Next, a couple of foldable pieces. Three so far..


Still got others, I probably will continue the work next week, hopefully along with the new models. Anyway, what do you think about the photos? I am taking the photos without the tripod (I've broke two already and not ready to break the third) next to the window. Bon alors, bon weekend! next post, terrarium yaay <3

Tuesday, February 07, 2012

Succulent Terrarium


It is normal to always want something right? I have been 'craving' to have terrarium, not sure if the urge of making one or just owning one. In short, I WANT it.  Going back and forth at google search to find a good DIY and consulting the gardening page on which plants, pots, soil to use.  I thought to myself, maybe if I just read it off, the urge of having one will go away. It's not like it's an addiction or something, I deserve to have a one beautiful mini terrarium at home. But the problem is we live in a small apartment and we already have plenty of plants! They are happy to live with us indeed, but we, too, need some space to live.. Dillema oh dillema...

Well, before I decide, here are the stuff I was talking about..

From Garden of Leah. What a gorgeous pot and I love how healthy and playful her succulent goes. 

http://www.thepeachtreebrooklyn.com/2008/07/mad-about-moss-pant-not-kate.html
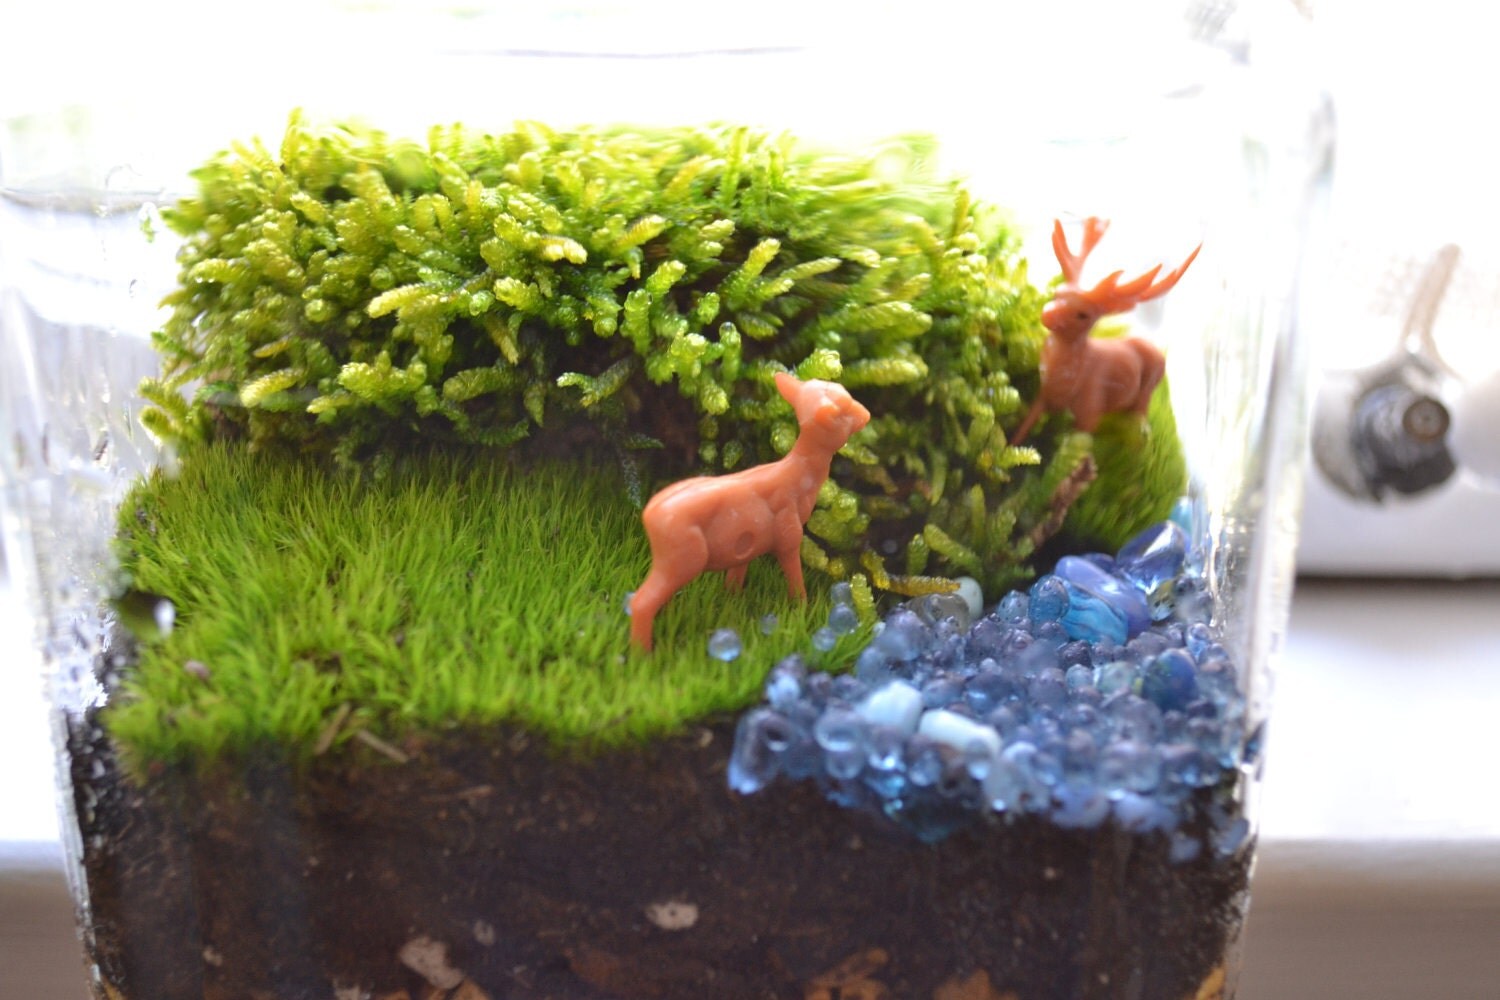
Apparently this is where you should find your life moss, save some $$ and it is more organic than the preserved one. I think.  Now that I think about it, I see plenty of these everywhere.. 

This is a terrarium within a lightbulb, Camille from Chapeau Bas shared the full DIY.

oh I don't mind a healthy tree with real wood in my terrarium, image from lacrafterie.fr

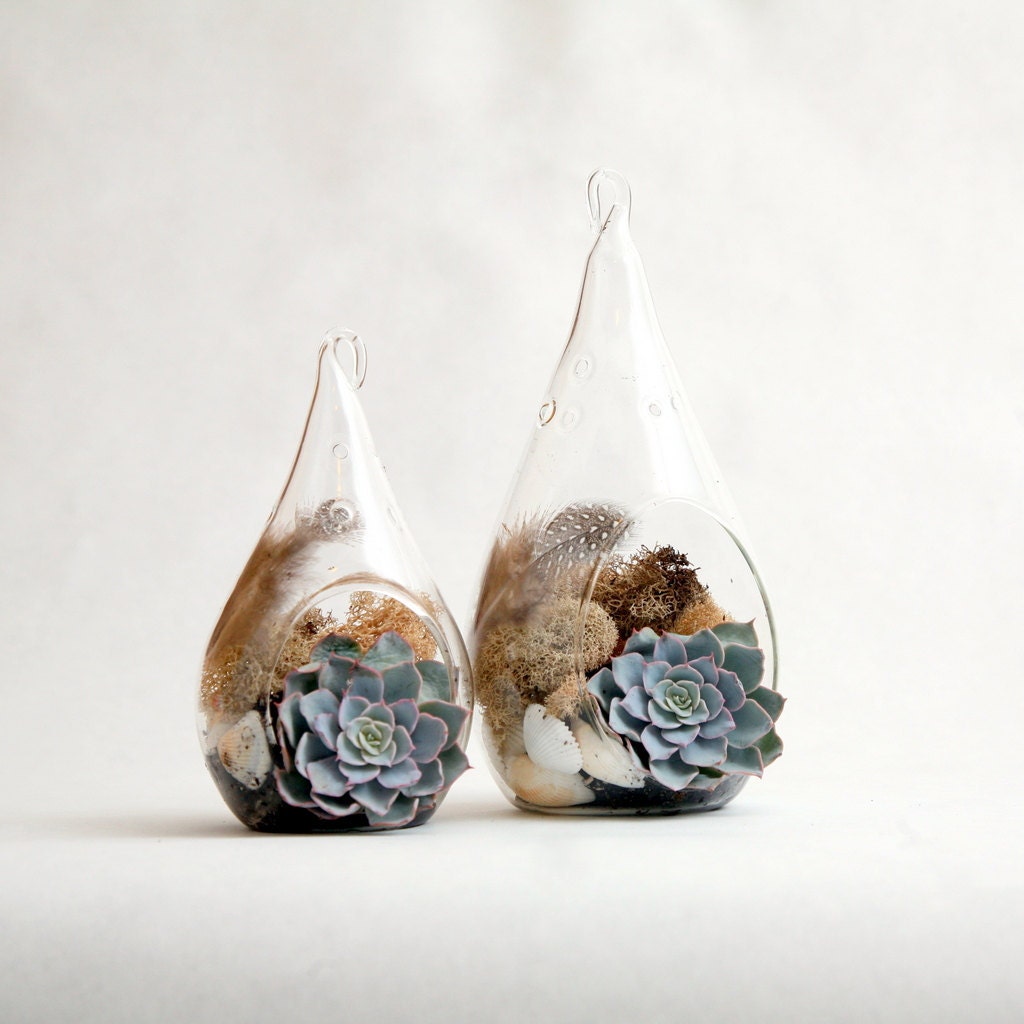
DIY from Our Fine House is my favorite so far, simple and it consist of two plants I like: moss and succulent.

 Sara Norris Photography took gorgeous photo, she was right, the touch of purple at the end of the leaves makes it look sexier. 

It is tempting to just click here and buy Amanda's terrarium from etsy


Monday, January 02, 2012

Happy New Year!

2012 is here! What is your plan for the next 365 days? I plan to continue on my battle of learning French, and developping my etsy store while applying a secret key to live a beautiful life... 

Stay innocent 

Stay in love 

and always prefer handmade.. 

Wish you all a great year ahead with lots of laugh and love! 

Monday, October 24, 2011

Table Stationery for the Wedding Guests

After the Handmade wedding bouquet, the second stuff of the wedding DIY I made for my own is the table stationery.  Plenty of ideas in my mind. Having some candies inside the guests tags, for examples. It didn't happened, and not sure if the reason lies between laziness or worry that some of my guests are actually on diet. Anyway, I decided to do it simple ways, just the name.


First thing first, the plan. So I want to have it folded into two and stand up just like a roof on a traditional house, with a bowtie on top and a golden strips, and a guestname in front of it. 


 I used two types of papers.  The thicker carton just so it can stand while it is folded into two, and the art paper to write the name of the guests.  Except for that, the tools I used are: a cutter to cut the papers, rulers, a scissors to cut the ribbon, a ribbon,  a perforator, a glue, a fountain pen, an eraser to erase the pencil marks,  a glitter, I used an eyeglitter that I found in my makeup case, and finally a strip of golden carton to accentuate the card. 
For that, I recycled the cover of an autumn-winter 2010 Mango catalog.  


This is how it looks like after:
1. cutting 11*9cm of thick carton and folding it horizontally into two.
2. glueing in the gold strips. 
3. perforating close to the frame and right in the middle of the card where the ribbon would be tied in.
4. applying the glitter on the front side of the card to give a shiny effect.
5. tying in a 20cm length of bronze ribbon.

Now the calligraphy exercise.  I try to write the name of the guests somewhere else before I am sure to have it on the art paper. 


Then I glued the 7.9*3.7cm art paper right in the middle of the front side of the folded carton, traced down the calligraphy with a pencil, doubled the trace with the fountain pen, waited for 10 minutes before erasing the pencil trace. This is how the card with the name on look like. Please ignore the golden strip error I made on this dummy. 


And Finally this is how it looks like on the dining table.  I decided at the last minute to change the bow. This one is thinner and 10cm longer than the original plan above. 

Monday, September 12, 2011

My first DIY art project: drawstring multi-usage sack

Yesterday I said goodbye to one of my favorite pants. I bought this pants more than ten years ago from Express in Tucson Mall during the summer sale of 2001. And five years after that date until today he is bestfriends with the closet. I can still get into this pants, I think, But everytime I wear it I feel weird.


So there you go, I cut the knees off and, since I don't have a sewing machine, handstitched it. 


Converting the belt into a drawstring

this is how it looks like inside out, 


This is how it looks like outside in, and done.

Here's a couple of ideas on what to use it for... 
 
Maybe I am a bit innovating things here, but this might be a cute bag to carry a wine bottle.  For example you are invited to a dinner with friends and you want to bring wine, or champagne, as a gift or to drink them together.  So instead of carrying it with a plastic or a brown bag I just think that it is more chic to carry it with this new handmade drawstring sack you just made.   Bon, maybe.  Or another idea might be a container for your toiletteries or make up gadgets while travelling. 


At the moment, this bag serves its function as my (clean) tights, pantyhose, stockings, socks organizer.
YAAY I did something with my hands, this project has refreshed my day, it is indeed a great temporary change from making that much jewelry.